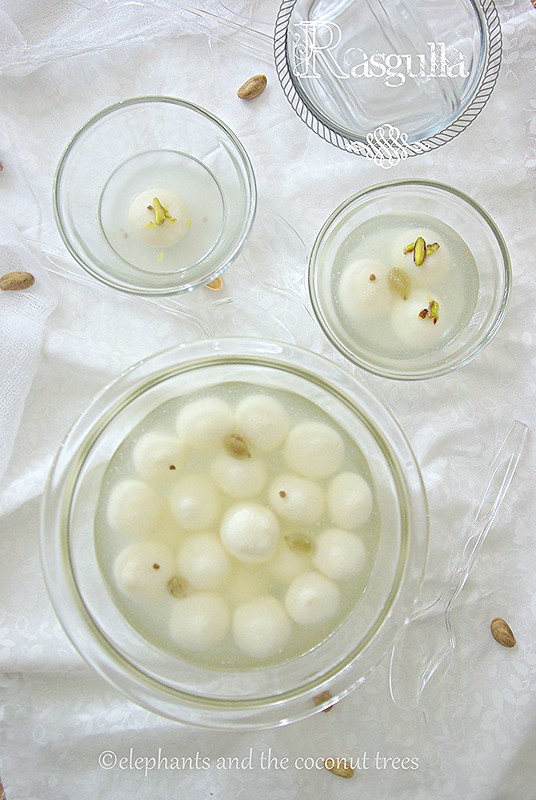
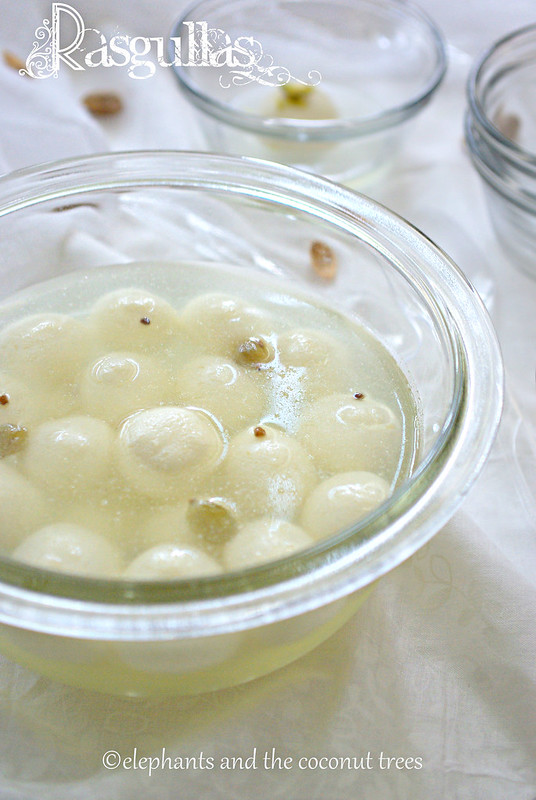
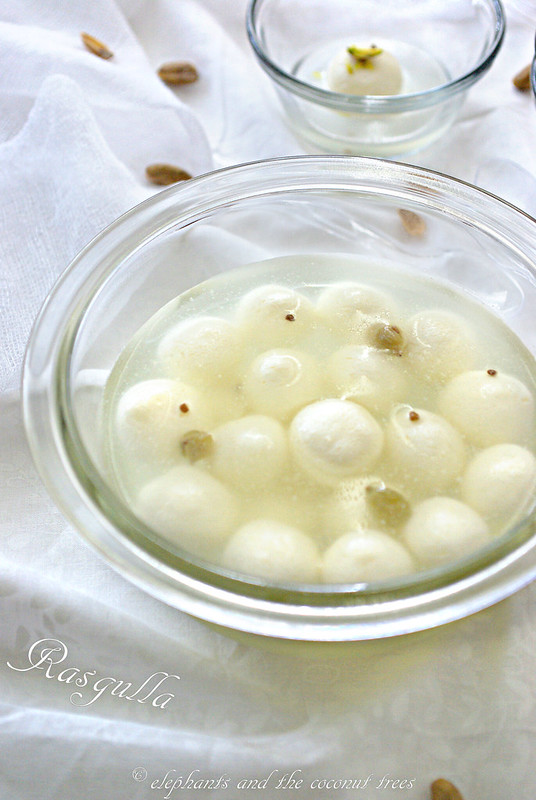
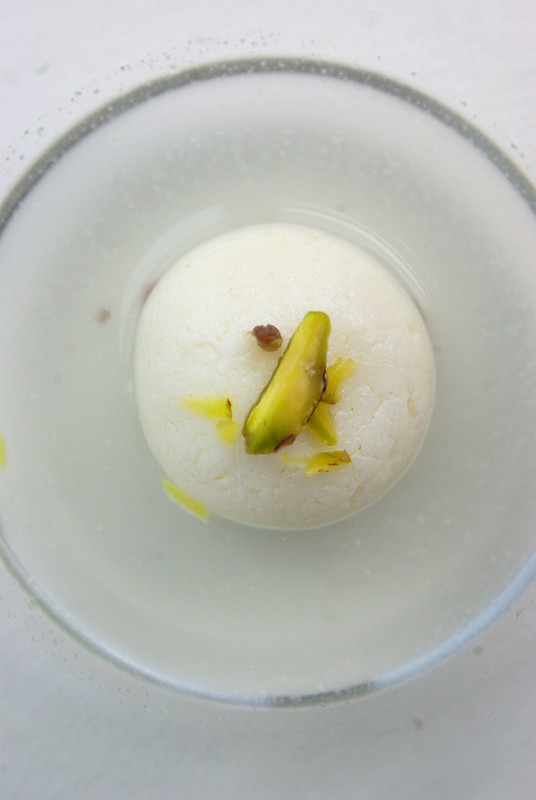
Rasgulla : A traditional milk based dessert made with just four ingredients.
When many bloggers wrote about their disasters of making rasgullas for the first time especially North East Indian bloggers it really intimidated me. Though the process seemed simple I understood its tricky to get a soft, spongy and pillowy cotton cheese balls. I decided to come out of the comfort zone and give it a shot.
As I started making rasgullas I was already thinking of everything that could go wrong while making it and a plan B too but to my surprise nothing happened on the other hand they turned out so well that my herd simply loved it.
The fear of cheese breaking in five cups of water with sugar and above all is such a huge waste of milk and effort so the only choice was to do a thorough research, collect all important detail from all the rasgulla ustads on the net.
I have jotted down all the points at the very end of the post as 'notes for me' for my future reference.
Makes around 20, I love tiny desserts so went for small sized ones so got 24.
The tiny ones are known as angoori(means grapes) rasgullas which usually goes into angoori rasmalai or angoori rabdi.
Ingredients :
Full fat milk- 1/2 gallon (around 2 ltr)
Lemon juice - 2 tbsp
Sugar -1 cup best or upto 2 cups if u like really sweet)
Water - 5 cups
Green cardamom - 4-5 pods (crushed or powdered) (flavoring)
Ice cubes- 1 tray with two cups cold water
Pistachios - few for decorating
Method :
- Heat milk ,stir occasionally when it comes to a boil pour the lemon juice stir once to mix switch off flame. Wait for few minutes once the milk has curdled well put the ice cubes and pour the cold water into the milk. This stops the cooking process.
- Wet two or three layers of cheese cloth and spread it on a colander with a larger pot to catch the water.Pour the milk solids with whey slowly into the cheese cloth . Slowly gather the edges of the cloth and twist and fold. Need not squeeze too much.Keep a stone or rock :) on top of the milk solid and leave it aside for 1-2 hours instead of hanging in an inconvenient place.
- Knead the milk solid with the heel of ur hand for 10 minutes. It will be really sticky but as u knead it will start coming together .Our objective is to get a smooth dough without lumps.Once done the dough will not stick to the hand or the surface on which u are kneading it.(see pic 5 above)
- Divide the dough into 4 then divide each one in to 5-6 equal parts.Roll into smooth balls without any cracks.If it cracks squeeze and shape it again.
- Take a large wide mouthed pot enough for the balls to float,double in size and still move easily.(Bigger the better). Put the sugar into it and pour the 5 cups of water.
- Bring it to a rolling boil (Syrupy wont work so do not wait for too long). Add the crushed cardamom with the pods. Drop the balls slowly into the boiling water immediately cover and continue for 5 minutes on high flame then reduce a bit and continue cooking for 15 minutes .Every five minutes open and let the steam out so the water does not overflow.Remove the pot from flame
- If you want it to be more sweet then remove the rasagullas into another container filled with fresh drinking water enough to submerge the rasagullas (or they may loose shape) (this also stops further cooking of rasgullas)and boil the syrup adding more sugar (1/2 to 1 cup) until one string consistency.When it cools down squeeze out all the plain water and add the rasgullas to the syrup give it a slight squeeze so it absorbs the sugar.
- Allow the whole thing to cool in room temperature then refrigerate. Best tastes the next day.
- Decorate with slivered pistachios
Note : How to check if rasagullas are cooked?
1. Take a bowl of water and drop one into the water if it sinks to the bottom then it is done.If it float boil rasgullas for few more minutes.
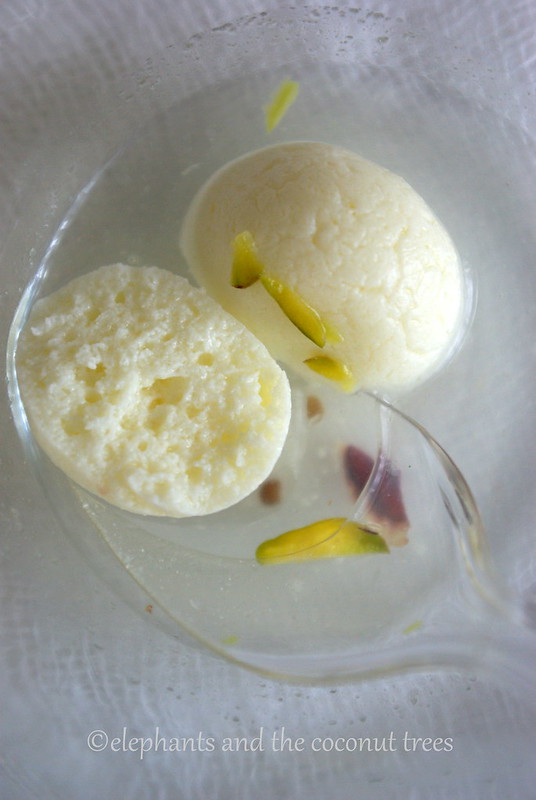
2.Try pressing it gently it should spring back to shape and should not break or be dented .
2.Try pressing it gently it should spring back to shape and should not break or be dented .
We all love tiny sweets be it baby jilebi , baby gulab jamun or rasgullas we have made some tiny ones here.
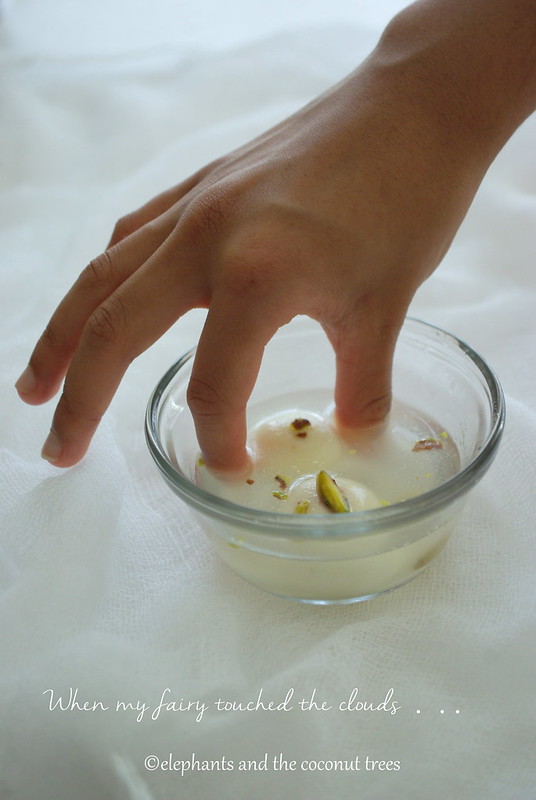
- The syrup is essential for keeping the rasgullas moist,while eating it is often squeezed lightly to get the excess syrup out. If you put some rasgullas in a serving dish, offer a slotted serving spoon. This way, guests may take just the rasgullas and leave the syrup behind.
- Few rasgullas are served in a bowl depending on the size.Its traditionally eaten using the right hand by lightly squeezing excess syrup from one's own dessert bowl. Its stored in earthen pots so that it remains cool and stays good for longer period of time.
- 1.Use only full fat fresh milk. The fat content in it results in softer paneer.
- 2.Switch off flame as soon as the milk has curdled stir the lemon and let it sit for few minutes to complete coagulation.
- 3.Do not squeeze milk solid too much little moisture is needed which will dry up while kneading.
Kneading
- 4.Over kneading will result in hard rasgullas.
- 5.Smoothen by rolling if cracks appear on the rasgullas while rolling.(small pores will give sponge effect)
- 6.The dough should be kneaded to a soft and smooth consistency it should still have some aeration in dough which helps the rasgullas become spongy in the end.Not stretchy like flour.
- 7.The rolling of the ball should be done well or it might break in hot water.
Sugar syrup
- 8.The sugar water should be rolling boil condition or the rasgullas might break.
- 9.Sugar is added in two stages -first stage has less sugar for gullas to cook well then more sugar is added after rasgullas are completely cooked and removed.
- 10.The sugar syrup should be thinned every 10 minutes with half cup of boiling water so the consistency of syrup is not thickened while boiling.
Cooking
- 11.If large quantity is made it should be made in batches for the rasgullas to expand and move around freely while cooking. Make sure to use wide mouthed deep pot . Always cover and cook so it puffs up well. A glass lid will let u see whats happening inside.
- 12.If sugar syrup needs to be thickened or more sugar is needed carefully remove rasgullas into equal amount of plain drinking water so they do not loose shape and boil the syrup add the rasgullas back only when the syrup cools down by squeezing off excess plain water.
- 13.When you eat the rasgulla it should not make a squeaky sound if it does it shows that the paneer is hard.It happens when the milk is over boiled after adding lime juice while splitting /curdling it.
- 14.** While boiling rasgullas- for first 5 minutes in full flame then reduce a bit or rasullas tend to puff up too much and loose shape and become flat disks.
- 15. Make rasagullas when you are in a good mood or as a stress buster they come out better .
Thank you to all the ustads who helped me break free from the fear of making rasgulla. I am much indebted to you for giving the valuable points.
Hope you like it.Meena



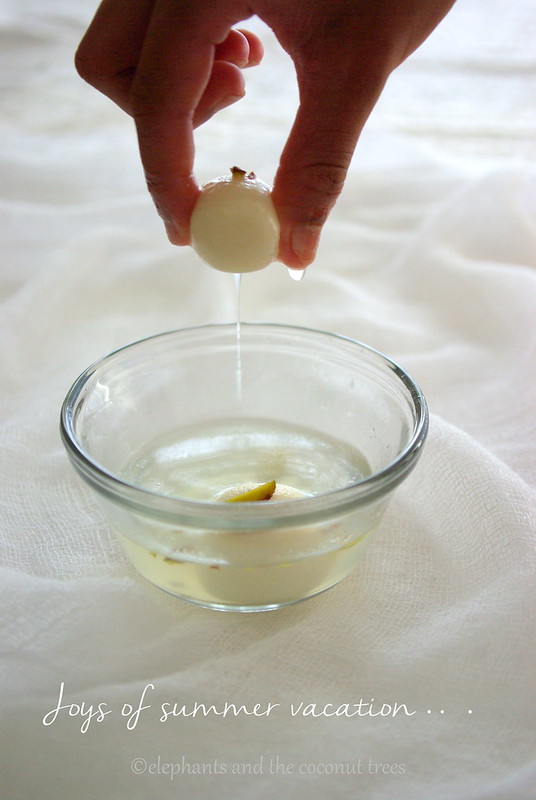
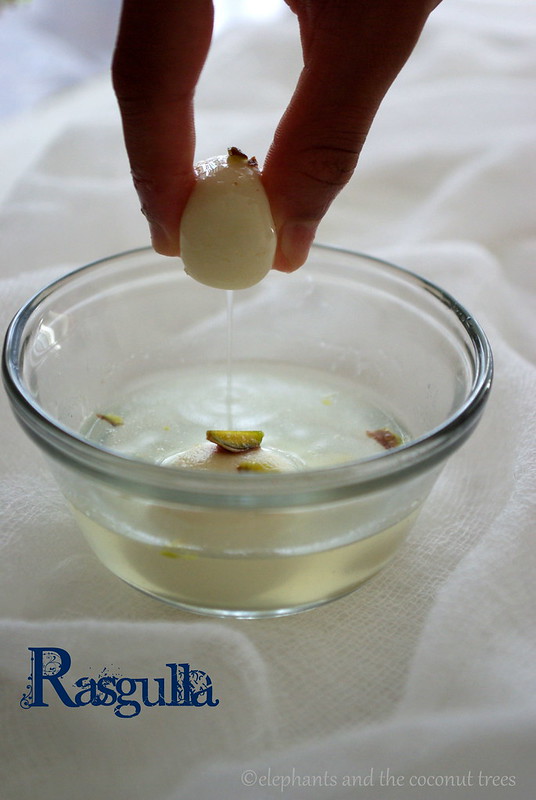
These rasgullas look fantastic.Loved the squeeze picture,waiting to try this one.Missing your comment these days.
ReplyDeleteThank u Sathya.
DeleteWow Meena! So well explained with step by step images,sharikkum kothipichu....your images tell how soft and spongy these are...wonderful clicks :)
ReplyDeleteThank u Ruxana. :)
DeleteDo you know what? I have been seeing all that rasgullas and rasmalais around, that I am so tempted to get myself a big bottle of full cream milk and start the process... Really detailed post... I loved that you read through all the ustads of rasgullas before u tried it... hehe... even I do that if I feel too intimidated, I pull out a book and right down many notes before I start off... Looks so good and the pics are equally amazing... :)
ReplyDeleteI know Rafee after so much effort I am not ready for disappointments. :) Thank u dear, u are an expert this should be a breeze for u.
DeleteGorgeous and stunning. With no takers for sweet stuffs in my house, I will kiv this recipe when we have guest coming over.
ReplyDeleteNo takers Nava oh! then there is no fun in making rasgullas.
DeleteI master this and tried various different ways too. Now I have to make this again because I am craving for it.
ReplyDeleteLinsy, I am extremely glad to see that u took time out of ur busy schedule and made it thanks a lot for sending the pic dear.
DeleteLove this detailed post to make that awesome looking rasgullas.....they have come out so well....makes me drooooll
ReplyDeleteThank u Anupa. :)
DeleteRasgullas look so yummy and perfect. Love the clicks Meena..
ReplyDeleteThank u so much Seena.
DeleteYou know I am from town of rasgulla! These rasgullas are making me hungry! They are so delicious and you captured it so well. However rasgulla making never sounded intimidating to me :-) i always prepare ma's pressure cooker way - 100 percent fail proof recipe for me :-)) you know i am a bit biased towards her recipe
ReplyDeleteAwee.. really thank u so much Dolphia. This was my baby step I am going to try ur way soon hope u won't mind if I pick your brains with silly questions. :))
DeleteLovely rasagullas.Awesome post with useful details.I am a sucker in making a perfect rasgulla.Bookmarked your post.I will try it very soon :) Hope this time at least it works well :)
ReplyDeleteChitra, OMG! a cooking expert bookmarked this page... I am so honored dear.
Deleterasagulla class adipoli ayii...loved the way you wrote all small notes that any beginner can try on..I made these long back and never got a chance to try again,but these pics are making me drool and motivating to try soon..feel to grab a few off the screen with your permission ;)
ReplyDeleteHe hee wish I could serve u right from screen. Thank you dear.
Deletelove d all clicks....love this any time.
ReplyDeleteThank u Usha.
DeleteLooks delicious you made it perfectly
ReplyDelete